Stereoscopic 3D
1. About stereo 3D
To understand what stereo 3D is, you need to understand perceived depth. There are many clues to help us perceive depth.
For objects, perspective, occlusion, and relative size are all good indicators of depth. If an object that is far away is much smaller than the object next to it, our brain will give such an explanation. Our brains already know the relative size of these objects to each other. If two objects are approximately the same size in our field of view, and one object is occluded by the other, or occludes the other object, our brain will infer that one of these objects is in front of the other (occlusion (Meaning that one object is placed on top of another and blurs the other object).
Another important depth clue is lens blur. If our eyes (or camera lens) focus on a particular object and another object next to it looks fuzzy, our brain can infer that another object is in front of or behind the object. If there is no blur, our brain thinks the two objects are at a similar distance. Obviously, the reason for this phenomenon is that when our eyes focus on different objects, our retinas will blur out-of-focus objects in the background. Our brain interprets this as a deep clue that we didn't realize.
Finally, it can be said that the most powerful depth clue is stereo vision. Stereo vision is a function of our brain that can receive two input images from different perspectives and can sense how far these two objects are from each other.
2. 3D thickness
Adding 3D thickness can make objects look more three-dimensional.
Comparison of flat 3D and stereo 3D objects:

A flat 3D object with front (middle), left side 70 degrees (left), and right side -70 degrees (right).
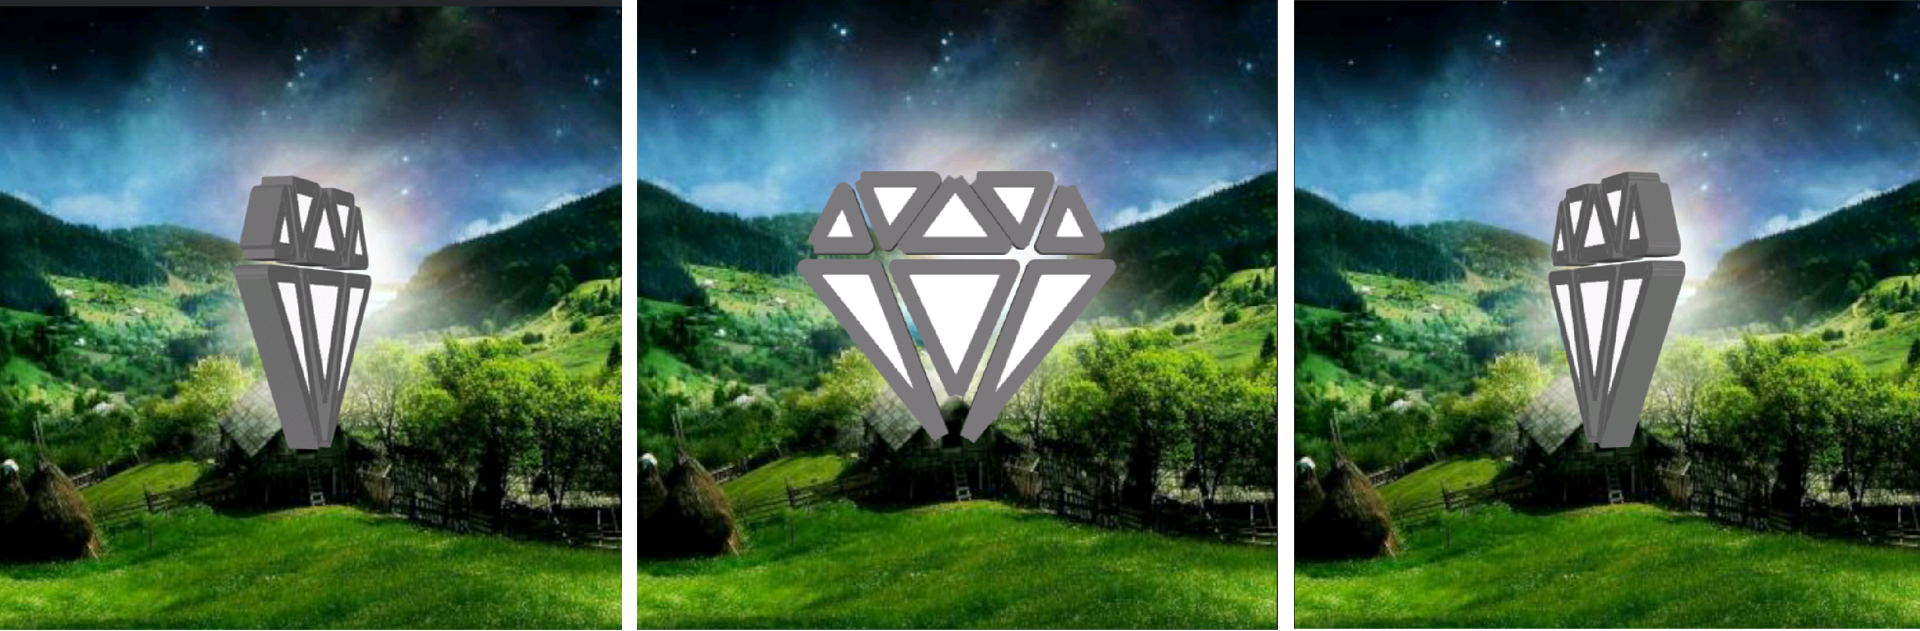
Stereoscopic 3D object with front (middle), left side 70 degrees (left), and right side -70 degrees (right).
To add thickness to an object, follow these steps:
① Please convert a 2D layer to a 3D layer first.(See 3D Layers.)
② Click the Thick button, and click the pencil button next to the Thick attribute name.


③ Modify the attribute value.

Note : Among them, once the text layer and shape layer are turned on in 3D, after adding the thickness, the mask buttons will not be displayed, no new mask can be added, and the mask added on the previous layer will not work.
3. Thickness attribute
The 3D thickness attribute is divided into positive thickness and negative thickness, and the unit is pixel.
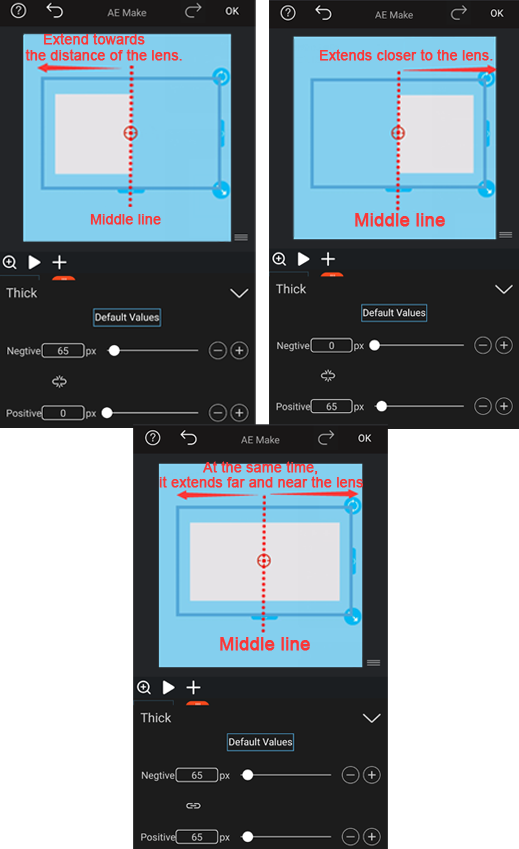
 icon is the same scale button, that is, the positive thickness and negative thickness affect each other in the same proportion. You can click the button to close the positive and negative thickness in proportion to each other.